Making Custom Tokens for Magic the Gathering: Kamigawa Neon Dynasty
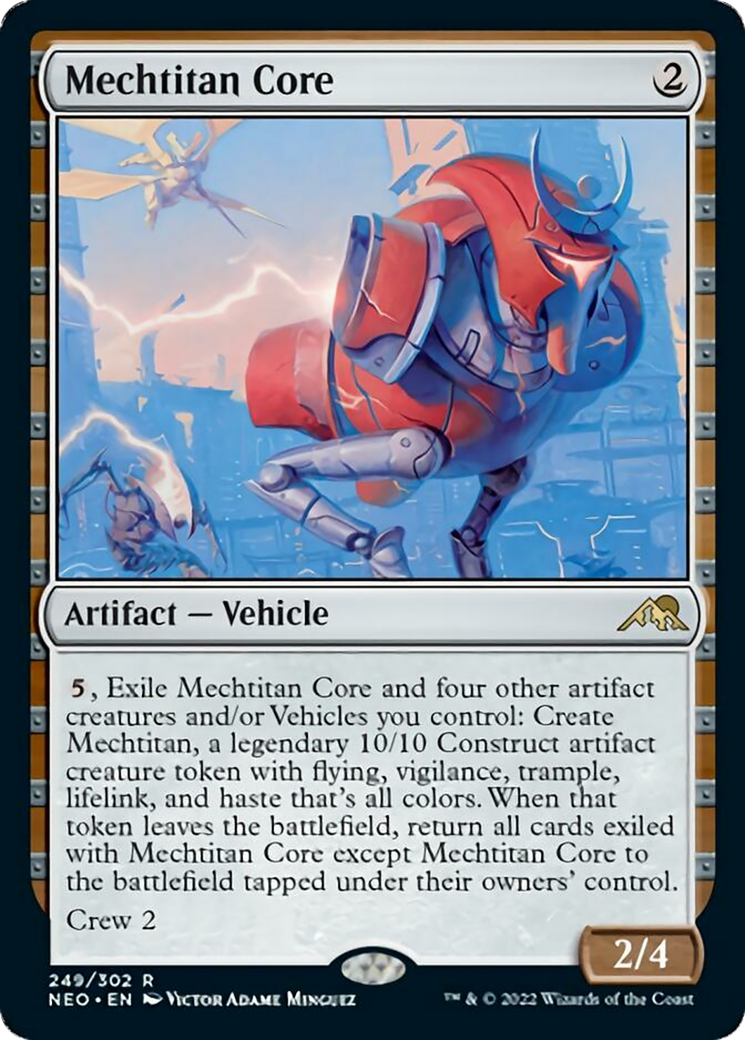
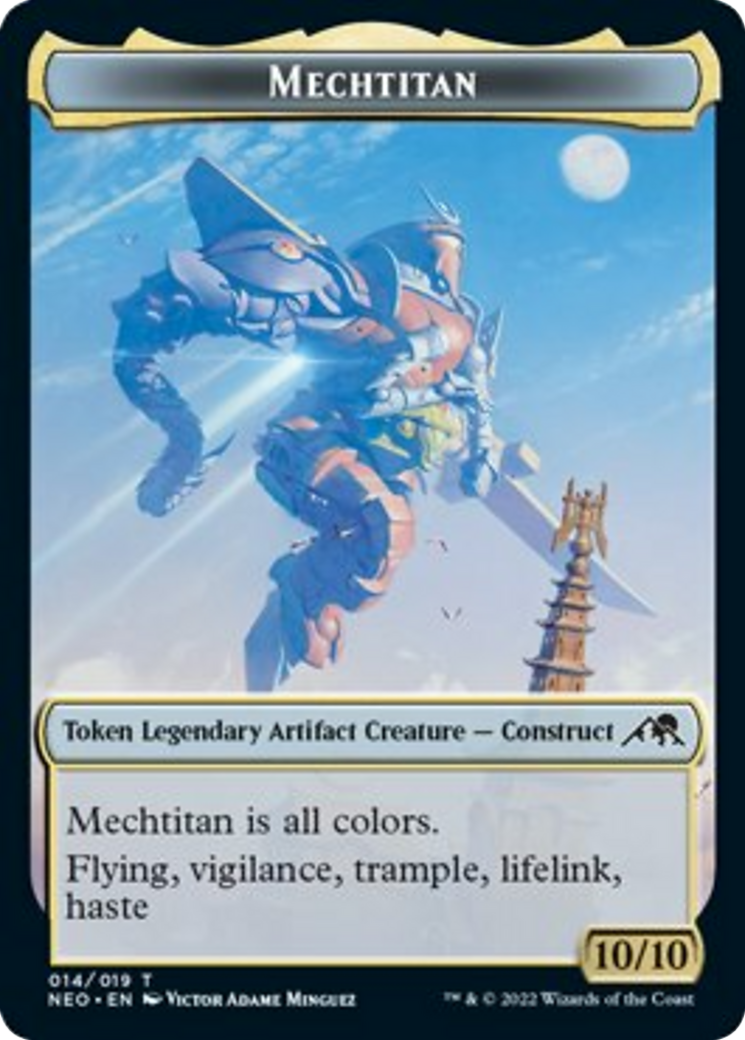
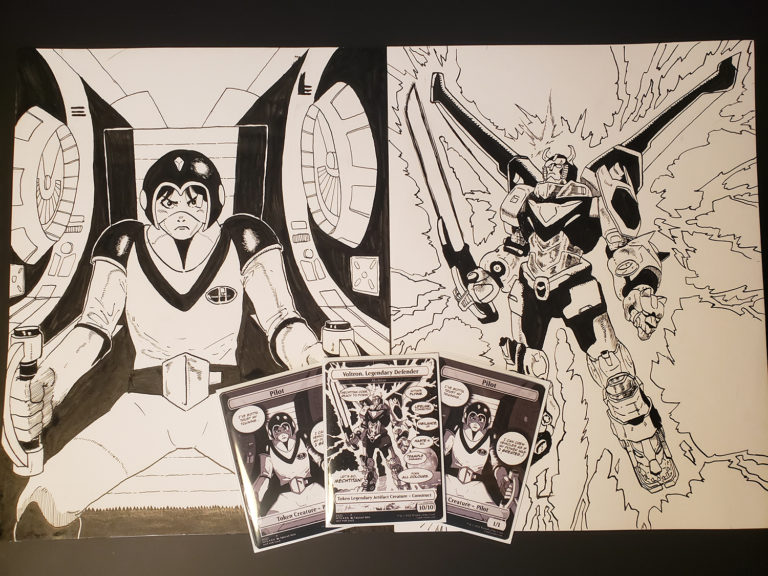
I can definitely imagine many Magic: the Gathering players will try to live the dream and assemble Mechtitan core, whether its in draft or Commander. Whether you love Voltron, Super Sentai/Power Rangers, or Gurren Lagann, the image of combining Mechs is something many of us grew up with. As much as we love the original Victor Adame Minguez art for Mechtitan and its accompanying token, we wanted to make a cool custom one inspired by Voltron.
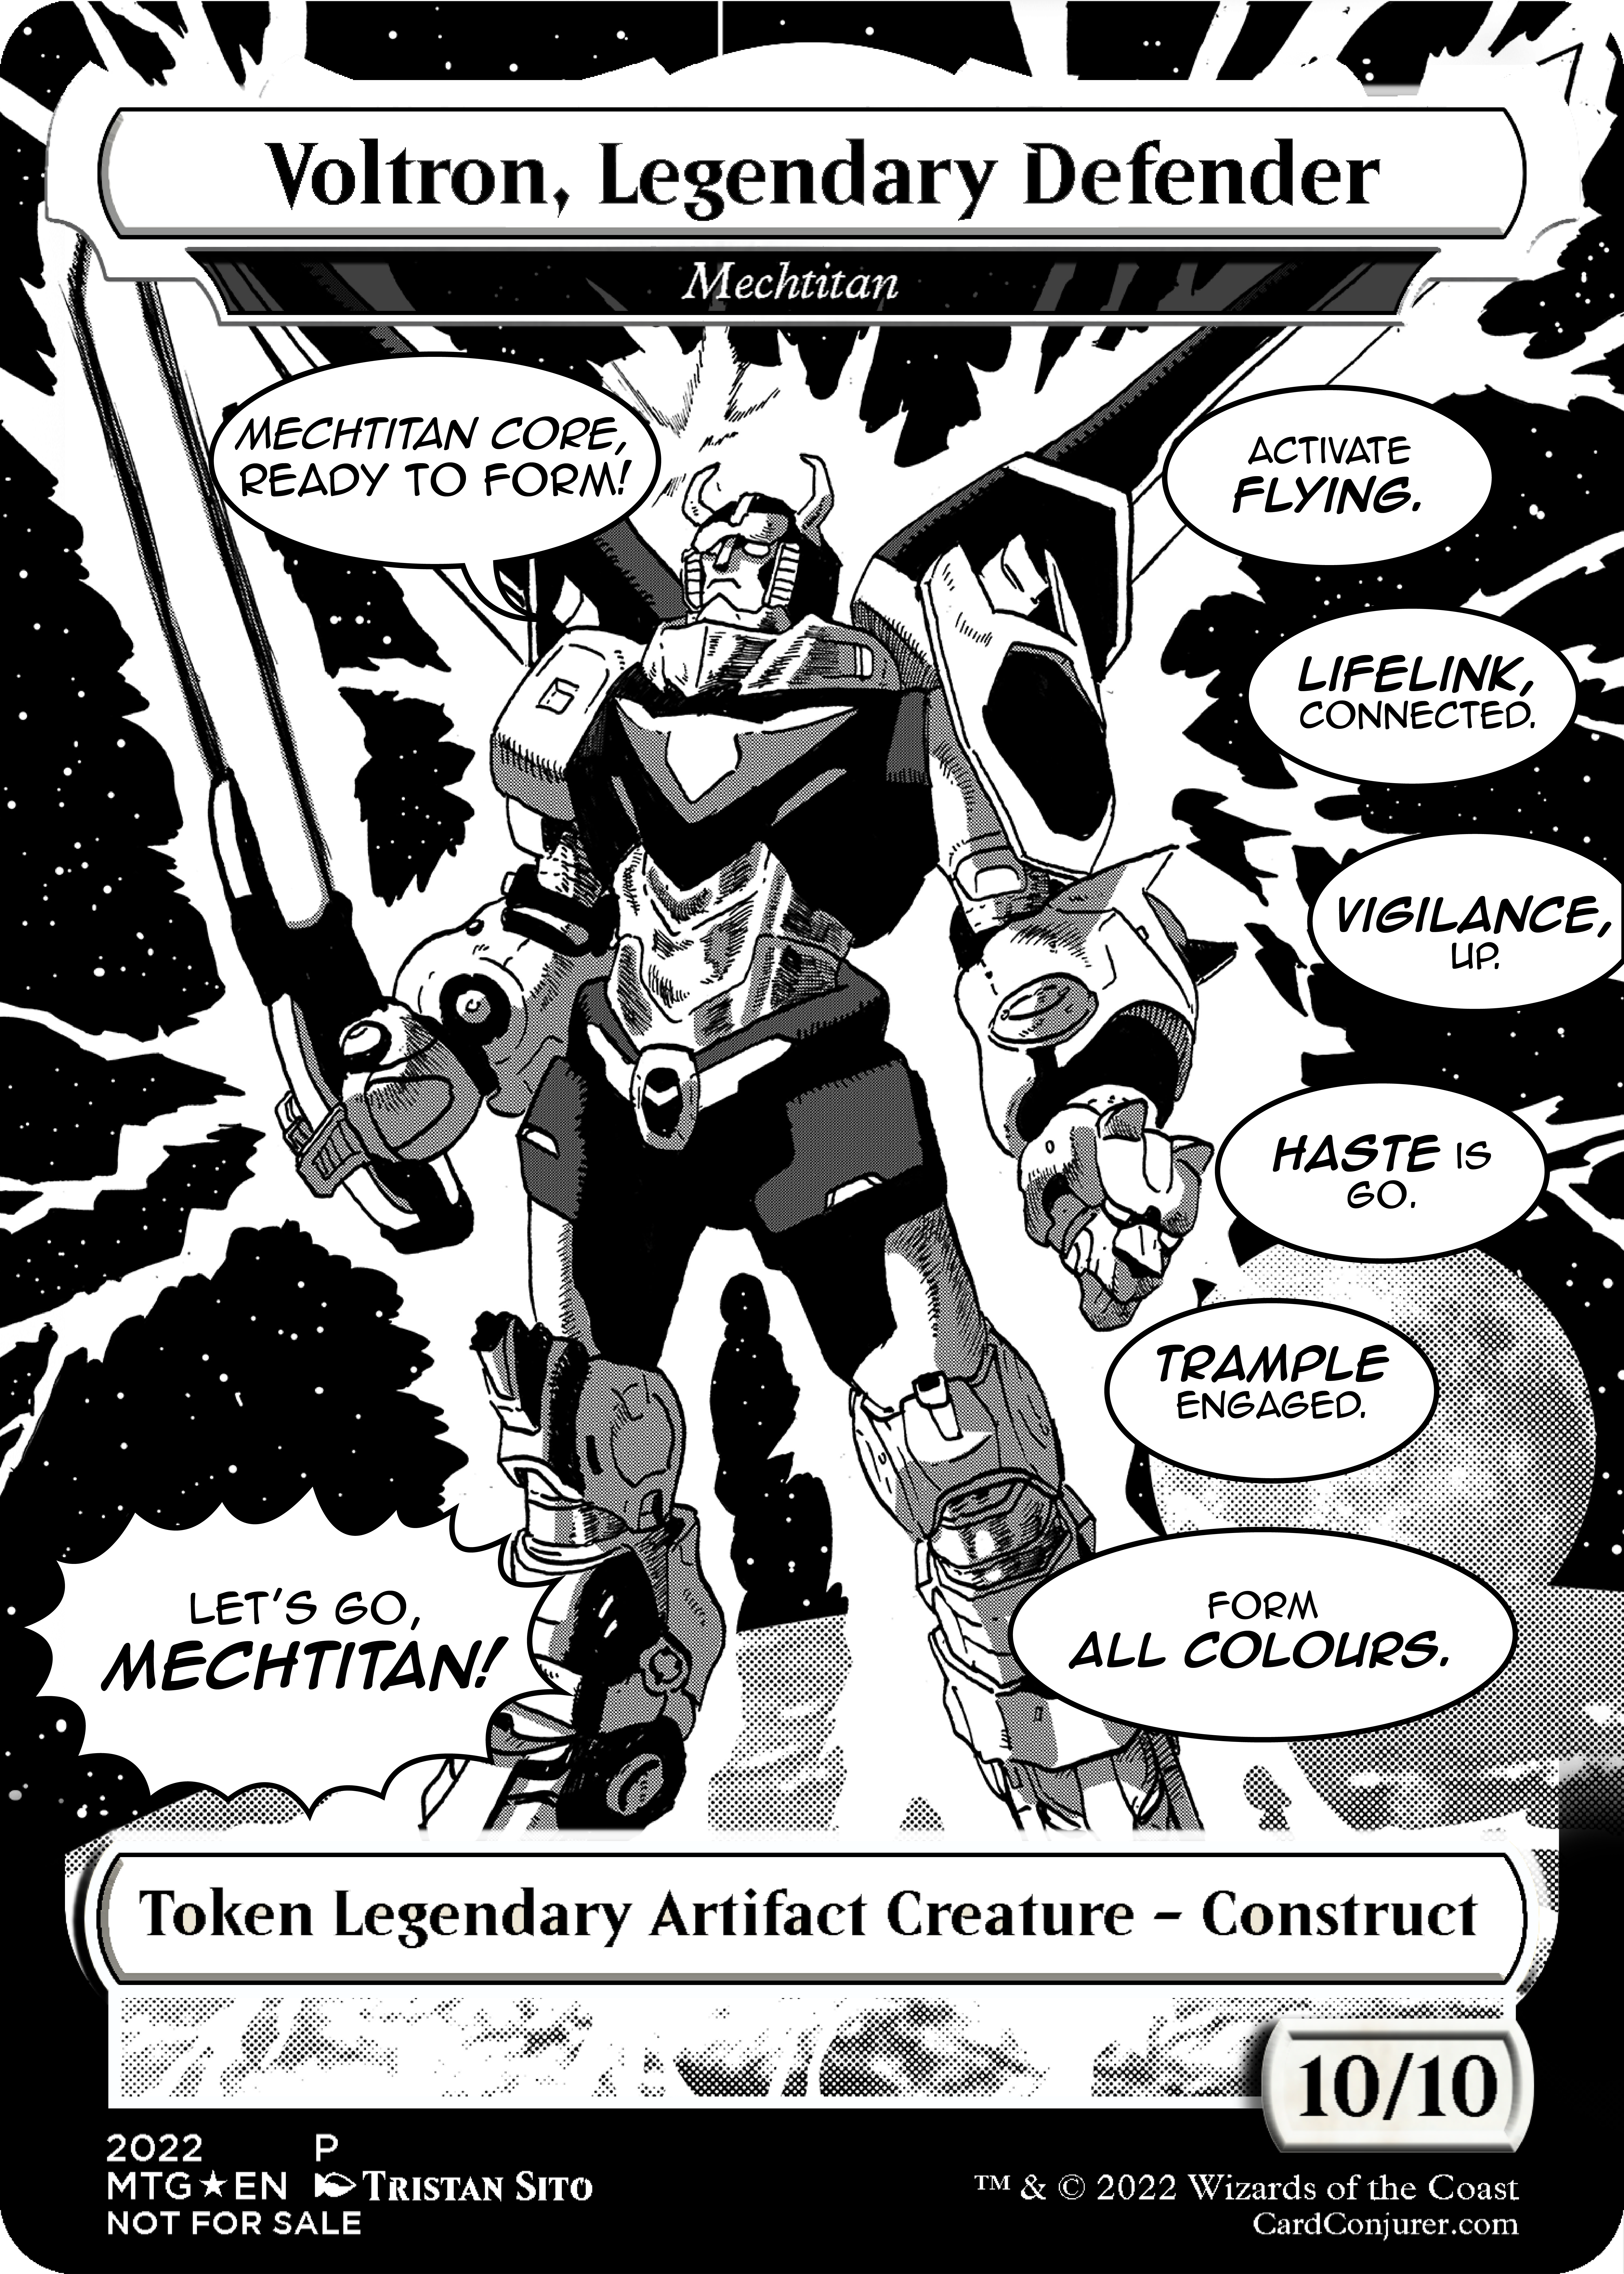
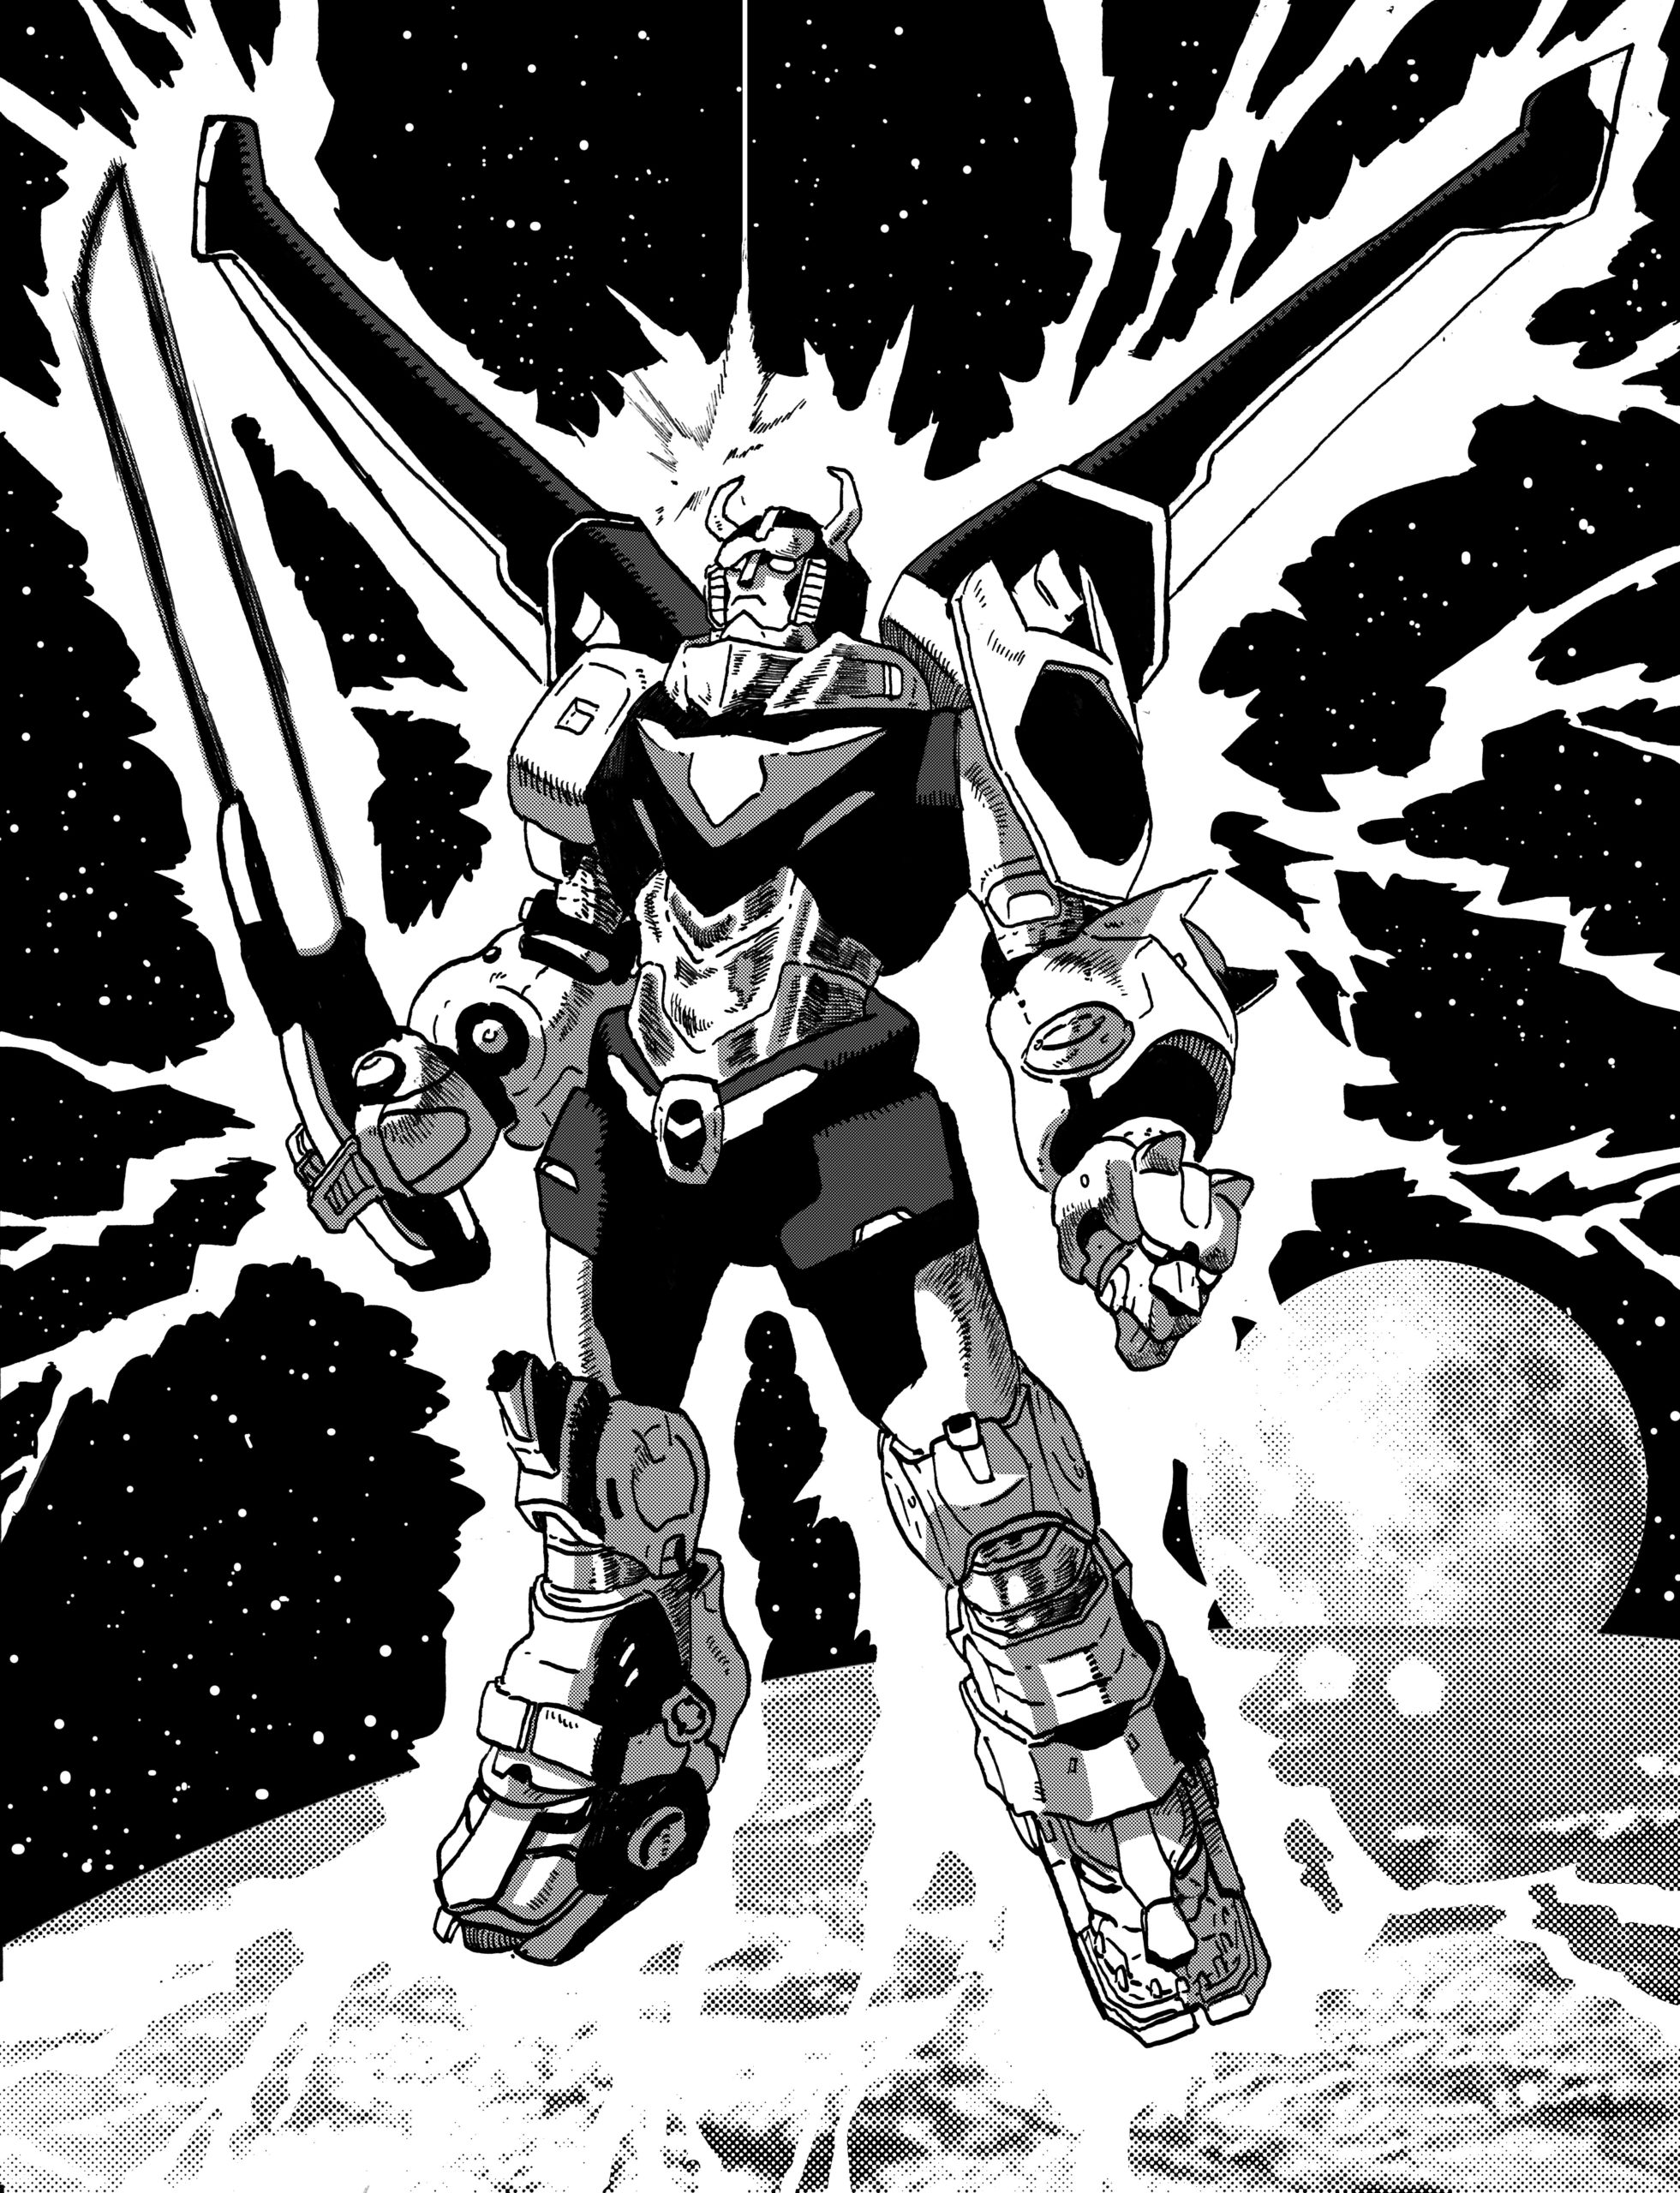
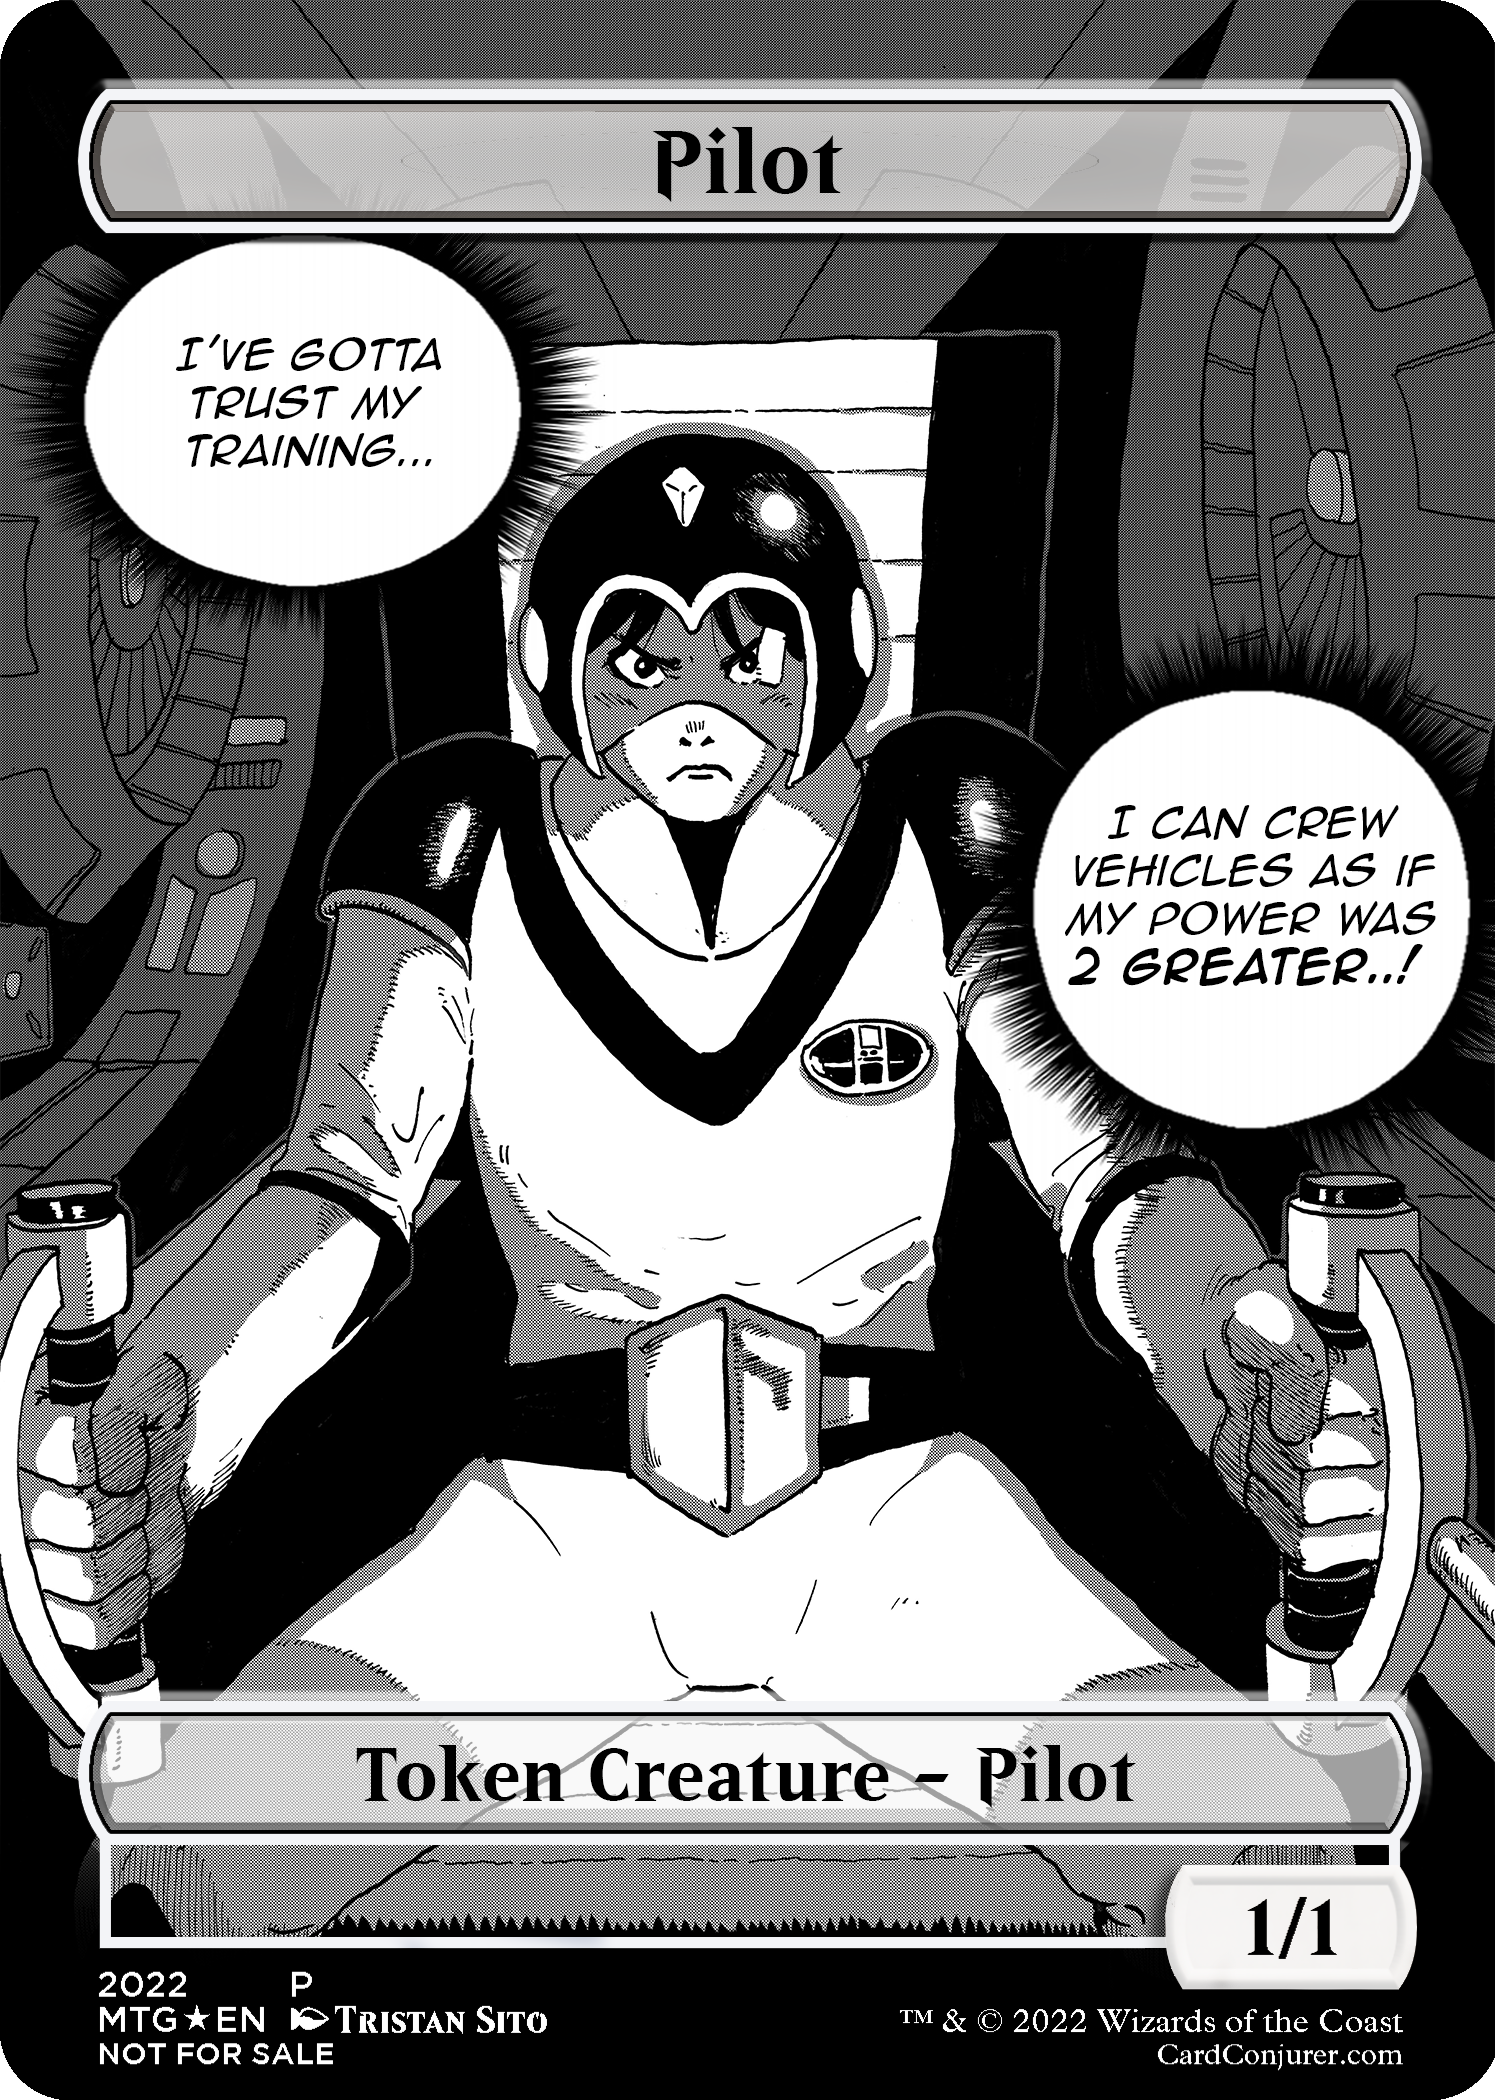
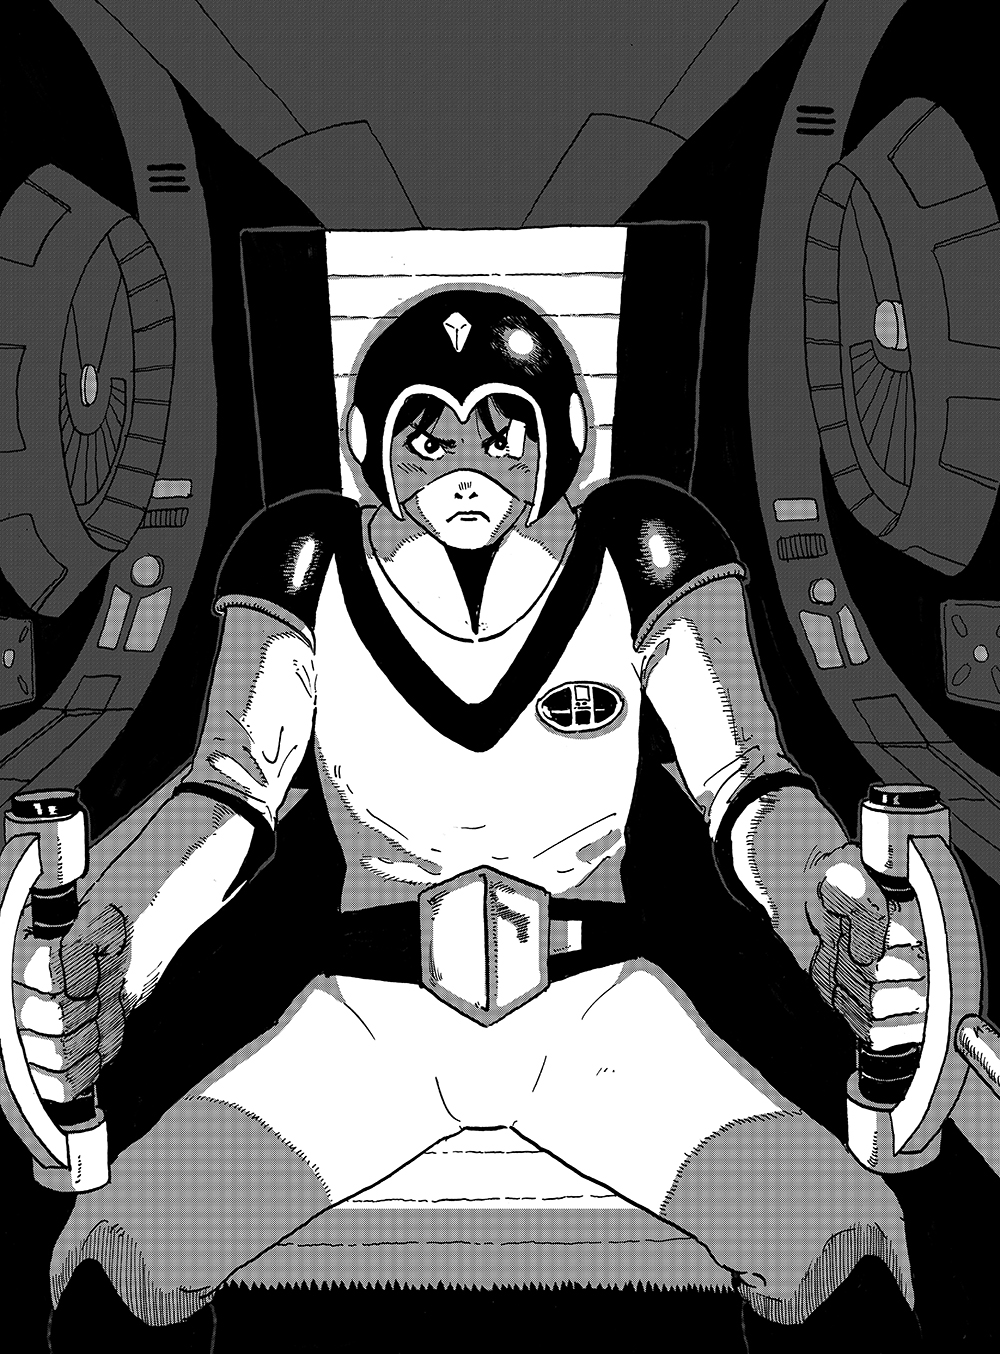
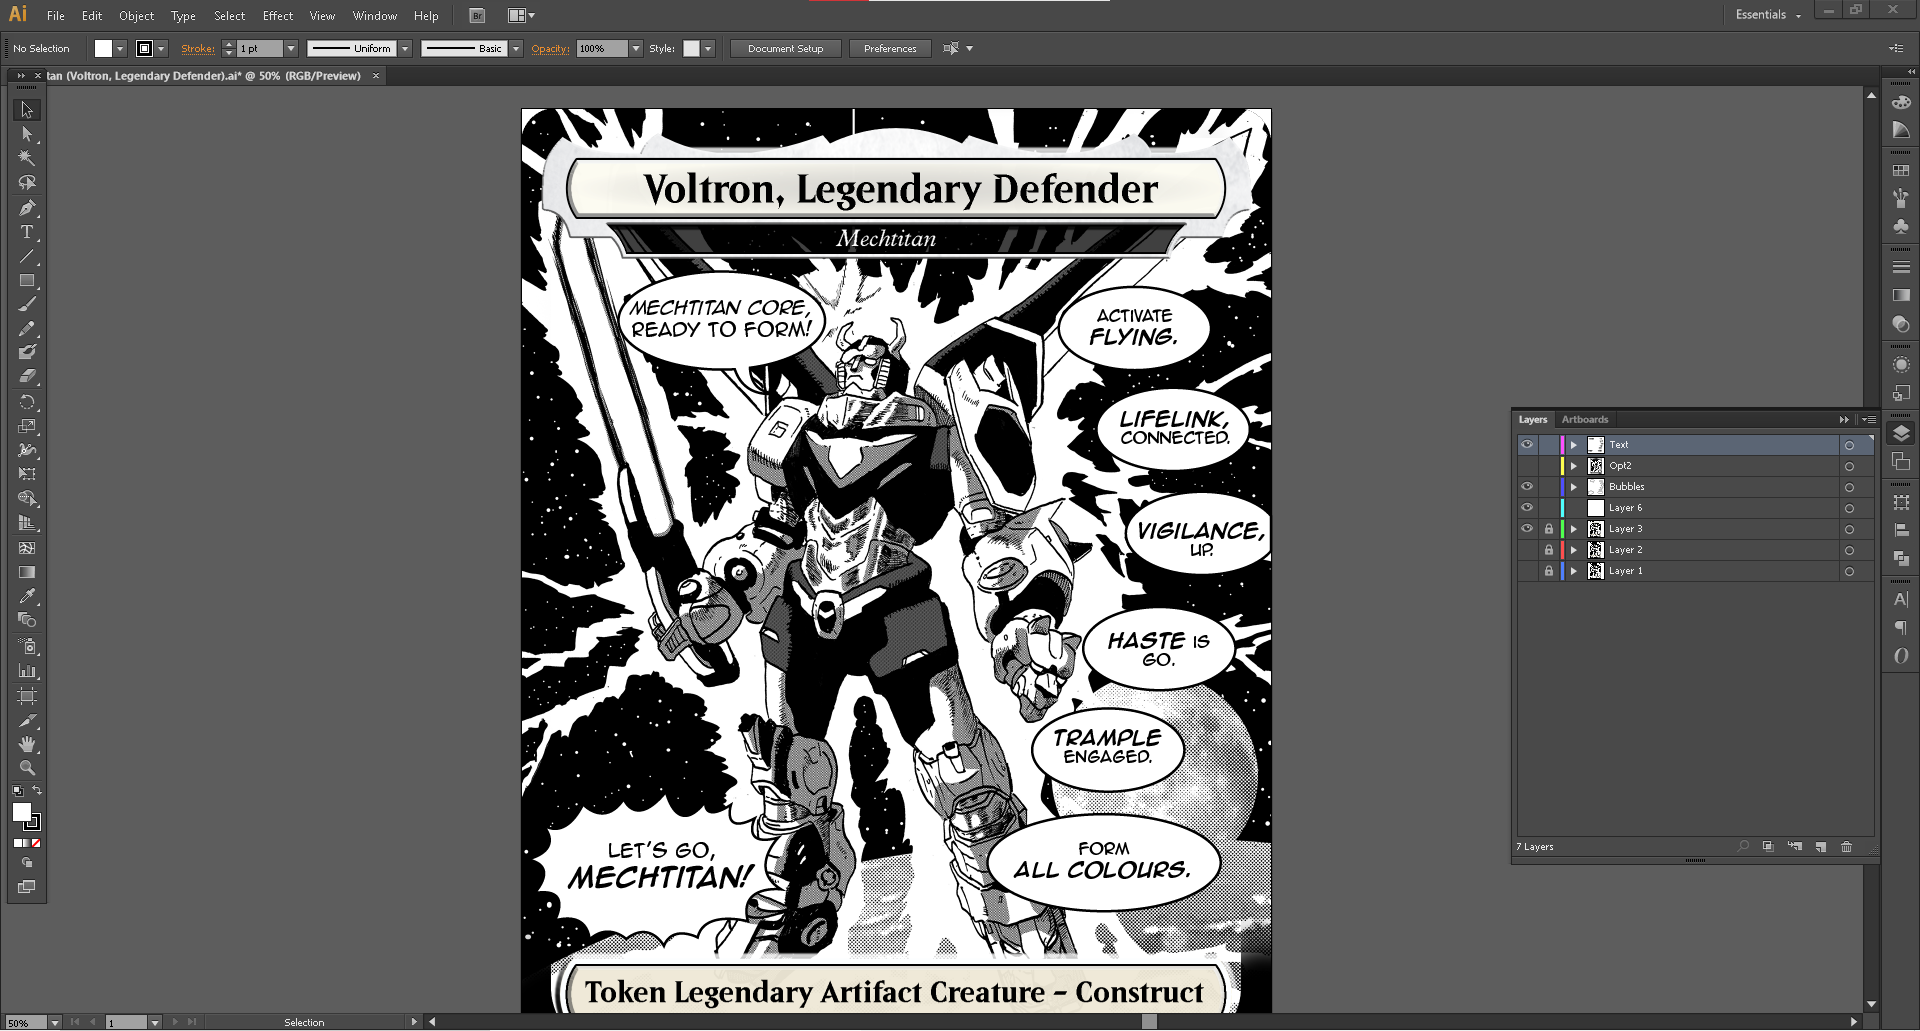
Of course, Voltron needs the Voltron Force (or the Paladins in the reboot) to pilot it. As it so happens, Kamigawa Neon Dynasty has new Pilot tokens, who despite being 1/1 creatures can pilot Vehicles as if their power were 2 greater (apologies to anyone who doesn’t play Magic that had to parse that sentence). With both of these tokens, we wanted to play around with the text box, and rather than having all of the abilities in the usual rectangle at the card bottom, we wanted to call back to the look of a Manga panel. After all, the new Kamigawa set is already full of anime/manga tropes.
making your own custom tokens
If you want to create your own custom tokens, our process was fairly simple. Tristan drew and inked the art traditionally, then scanned it. You could also draw your art digitally, and save a step here.

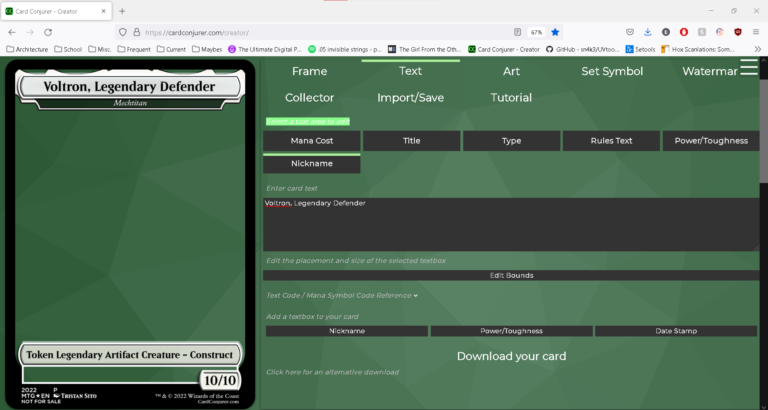
Next we used a site called Card Conjurer, which has a selection of frames from throughout Magic’s history. You can fill in the text, power/toughness, mana cost, and more. For our purposes, we just filled in the type-line and the name of the token, since the abilities would be written out as part of the art. We also messed around with the color of the frame in a later step, because we wanted to get a closer look to the black/white style of manga. The frames straight out of Card Conjurer look great on their own though. If you’re using art that isn’t your own, make sure you’ve gotten permission from the artist and credit them when making your frame in the “Collector Info” section!
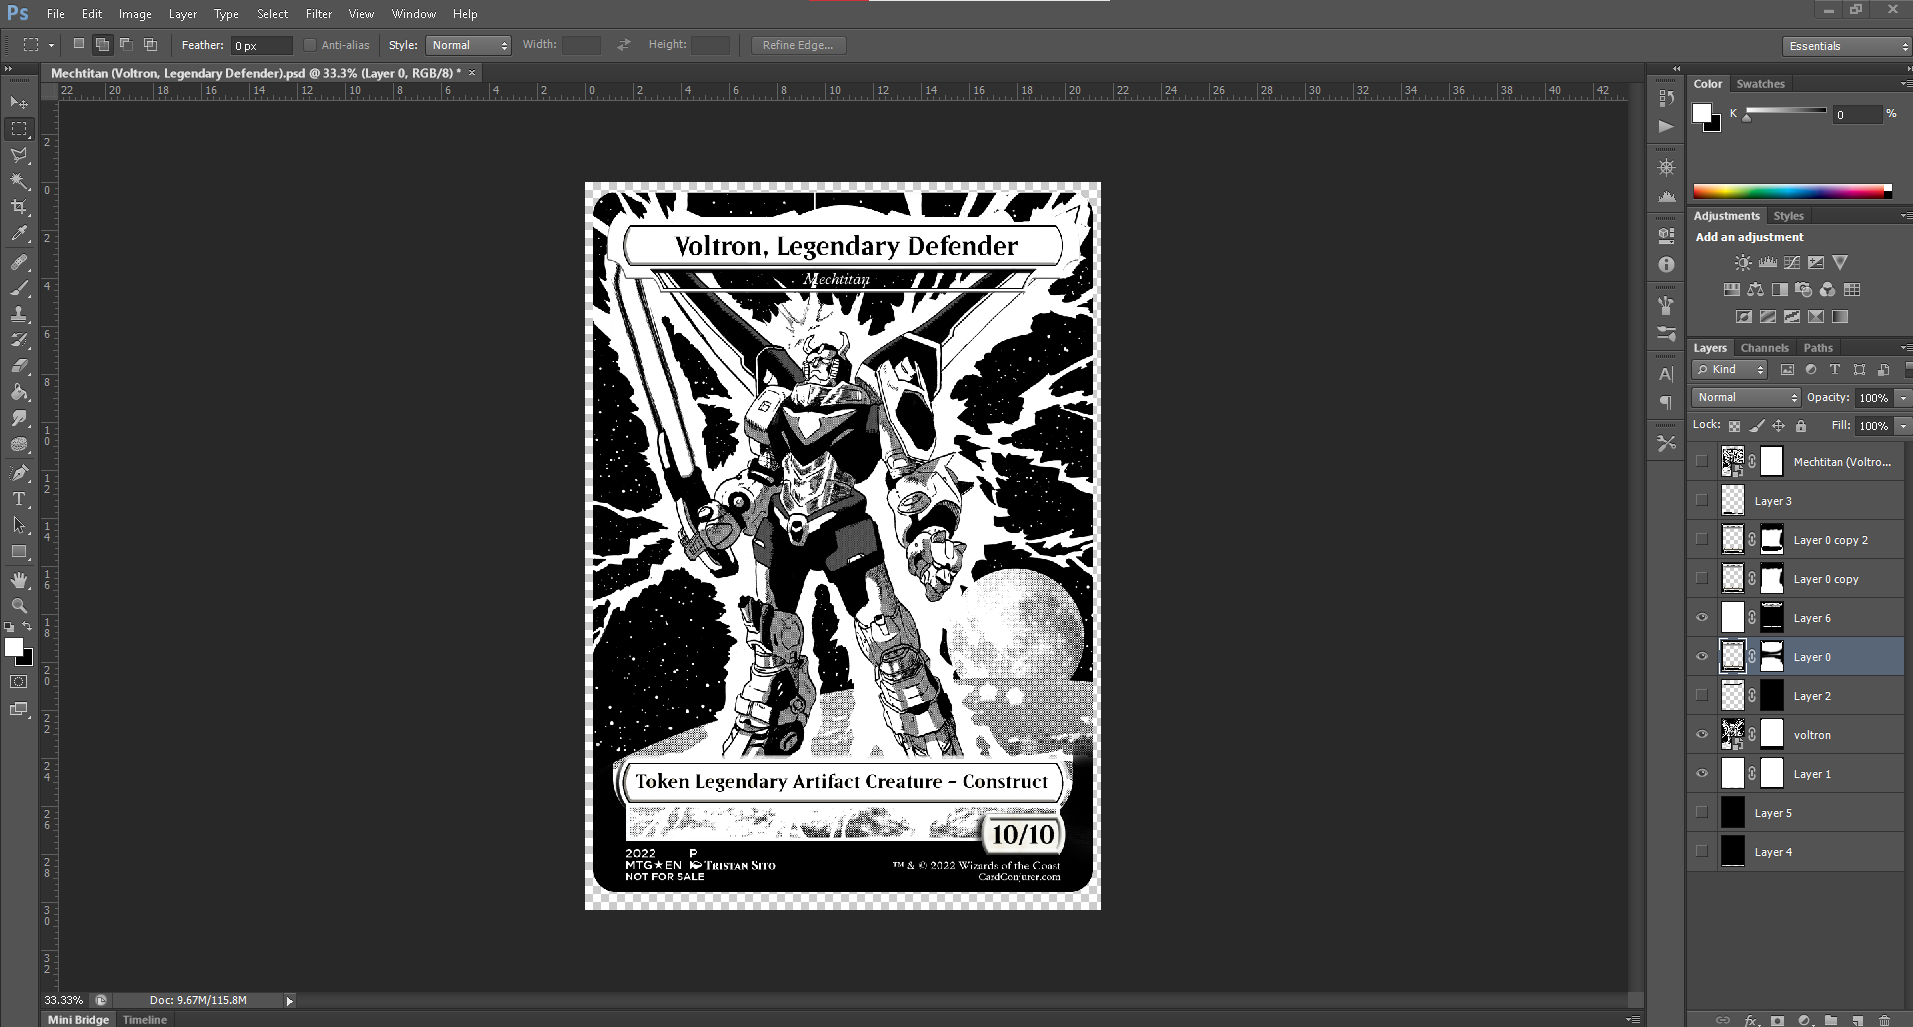
Next we do a bit of Adobe Photoshop to fit the art onto the frame. Because we wanted these tokens to have borderless art, we masked out the black borders. This is also the step where we added speech bubbles in Adobe Illustrator, but for most people making their own custom tokens, this won’t be necessary.
Finally, we laid the images out on an 8.5″x11″ piece of paper for printing. A typical magic card is 2.5″x3.5″, but we found after test prints that our printer prints them a bit larger. Rather than troubleshooting the printer, we just scaled the images down to 96.5% of their original size. We printed everything onto matte photo paper, and cut them out individually. You can also print them onto regular printer paper, and slide them over a bulk common or basic land in a sleeve. Another option is to print on sticker/label paper and then attach the image to a card you don’t card about.
